Education
E-Learning
Step-by-Step Guide to HTML Forms and Input Elements
by sabari on | 2024-12-11 15:32:07 Last Updated by sabari on | 2024-12-12 13:38:55
Share: Facebook |
Twitter |
Whatsapp |
Linkedin Visits: 75

Introduction to HTML Forms
HTML forms are used to collect user input. This
input can be sent to a server for processing or used for client-side purposes
like calculations or validations. Forms are essential in building interactive
websites, such as login pages, surveys, and file upload features.
Why are HTML Forms Important?
- They allow users to interact
with web applications.
- They enable data collection,
such as login credentials or user preferences.
- Forms are the foundation of
many web-based workflows like online shopping, registrations, and more.
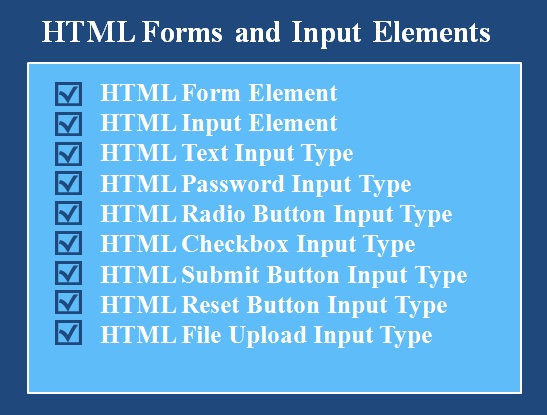
1. HTML Form Element (<form>)
Explanation:
The <form> element is used to collect input from the user. It is the
container for other form controls like text inputs, radio buttons, checkboxes,
etc. Forms send the data to a server when submitted. It is crucial for user
interaction, such as registration, login, and feedback forms.
Code Example:
<form action="submit_form.php" method="POST">
    <label for="username">Username:</label>
    <input type="text" id="username" name="username">
    <input type="submit" value="Submit">
</form>
Explanation of Attributes:
action: The URL where the form
data is sent for processing.method: Defines how the data is
sent (GET or POST).
Exercise:
- Create a form with a name
and email field, and a submit button that sends data to a server (use a
fictional URL).
2. HTML Input Element (<input>, type, name)
Explanation:
The <input> element is the most versatile in forms. It is used to
create various input types, such as text fields, radio buttons, checkboxes,
etc. The type attribute defines the
type of input, while the name attribute helps identify the form data when it is sent to
the server.
Code Example:
<input type="text" name="username" placeholder="Enter your username">
Explanation of Attributes:
type: Specifies the type of
input (e.g., text, password, checkbox).name: Identifies the input field
when sending the form data.
Exercise:
- Create a text input for the
user name and a submit button.
3. HTML Text Input Type (<input
type="text">)
Explanation:
The text input type allows users to enter short, single-line text.
This is one of the most commonly used input types.
Code Example:
<label for="name">Name:</label>
<input type="text" id="name" name="name" placeholder="Enter your full name">
Exercise:
- Create a form where users
can input their name.
4. HTML Password Input Type (<input
type="password">)
Explanation:
The password input type hides the text entered by the user, making it
suitable for sensitive information such as passwords.
Code Example:
<label for="password">Password:</label>
<input type="password" id="password" name="password">
Exercise:
- Create a form with fields
for username and password.
5. HTML Radio Button Input Type (<input
type="radio">)
Explanation:
Radio buttons allow users to select one option
from a predefined set. They are typically used when only one choice is allowed,
such as selecting gender or payment methods.
Code Example:
<label>
    <input type="radio" name="gender" value="male"> Male
</label>
<label>
    <input type="radio" name="gender" value="female"> Female
</label>
Exercise:
- Create a form asking for the
user gender with radio buttons.
6. HTML Checkbox Input Type (<input
type="checkbox">)
Explanation:
Checkboxes allow users to select multiple options.
This is useful when multiple selections are allowed, like choosing interests or
agreeing to terms and conditions.
Code Example:
<label>
    <input type="checkbox" name="terms" value="agree"> I agree to the terms and conditions.
</label>
Exercise:
- Create a form with
checkboxes to select hobbies or interests.
7. HTML Submit Button Input Type (<input
type="submit">)
Explanation:
A submit button is used to send form data to the
server for processing. It triggers the form submission.
Code Example:
<input type="submit" value="Submit">
Exercise:
- Add a submit button to your
form to send the data.
8. HTML Reset Button Input Type (<input
type="reset">)
Explanation:
A reset button resets all fields in a form to
their initial values. This is useful for clearing the form if the user wants to
start over.
Code Example:
<input type="reset" value="Reset">
Exercise:
- Add a reset button to your
form to clear all fields.
9. HTML File Upload Input Type (<input
type="file">)
Explanation:
This allows users to upload files like images,
documents, or videos. It is used when the form requires a file submission, such
as a profile picture or resume.
Code Example:
<label for="fileUpload">Upload a file:</label>
<input type="file" id="fileUpload" name="fileUpload">
Exercise:
- Create a form that includes
an option to upload a file.